
“Original cowls are unobtainable”: reprinting a 1997 Honda ST1100’s mirror cowls in ASA
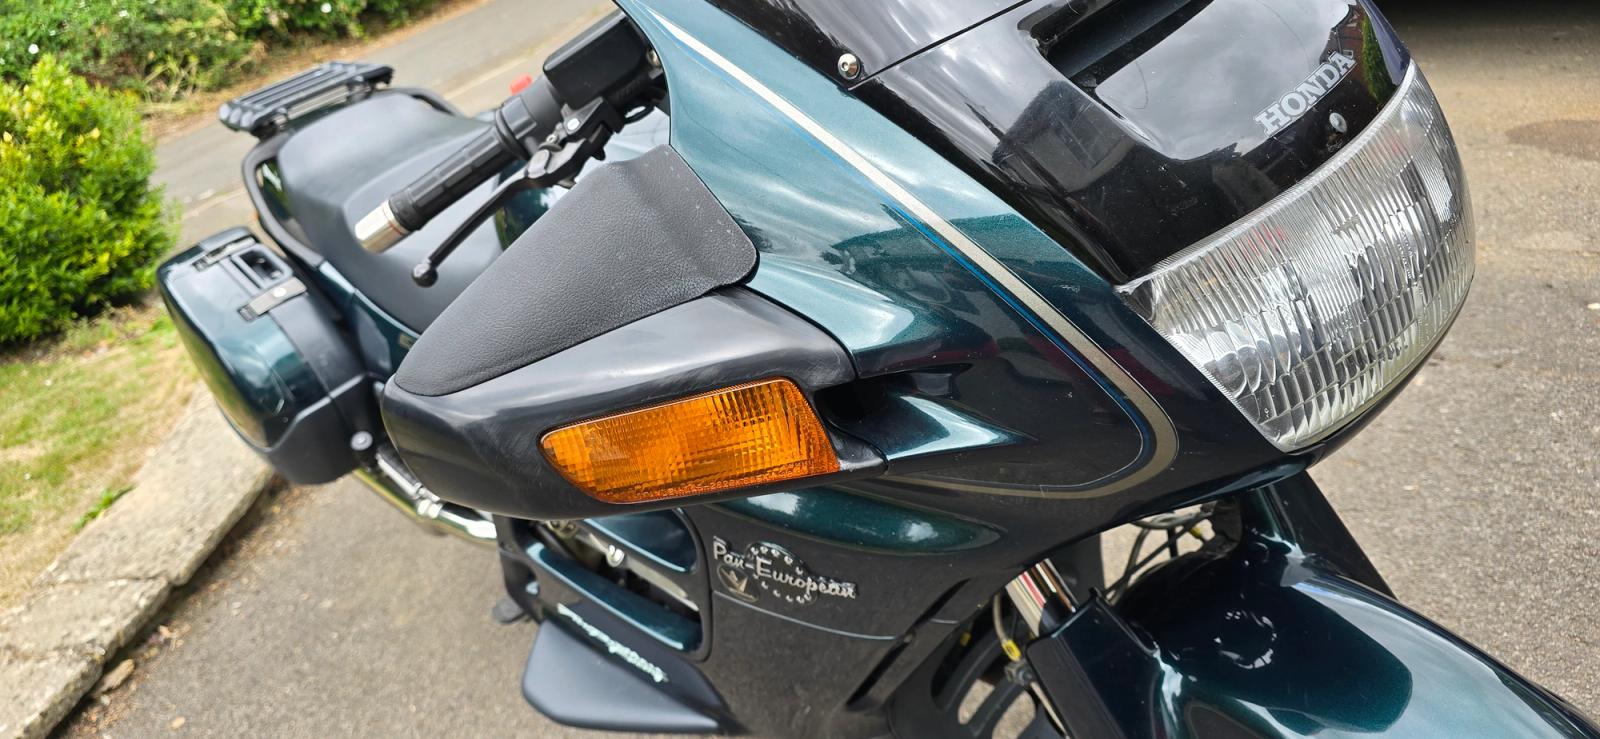
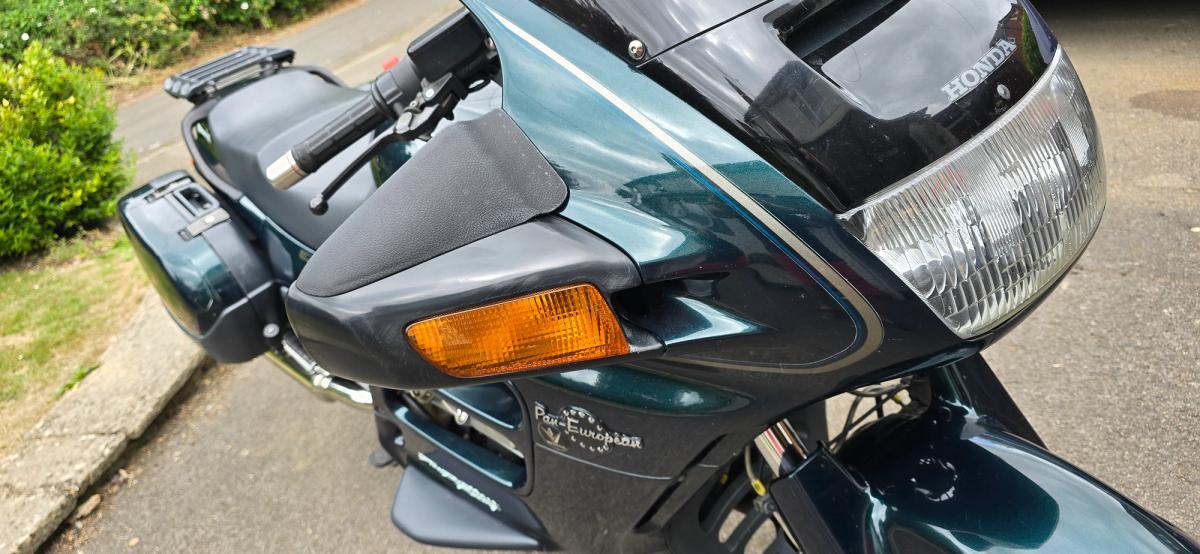
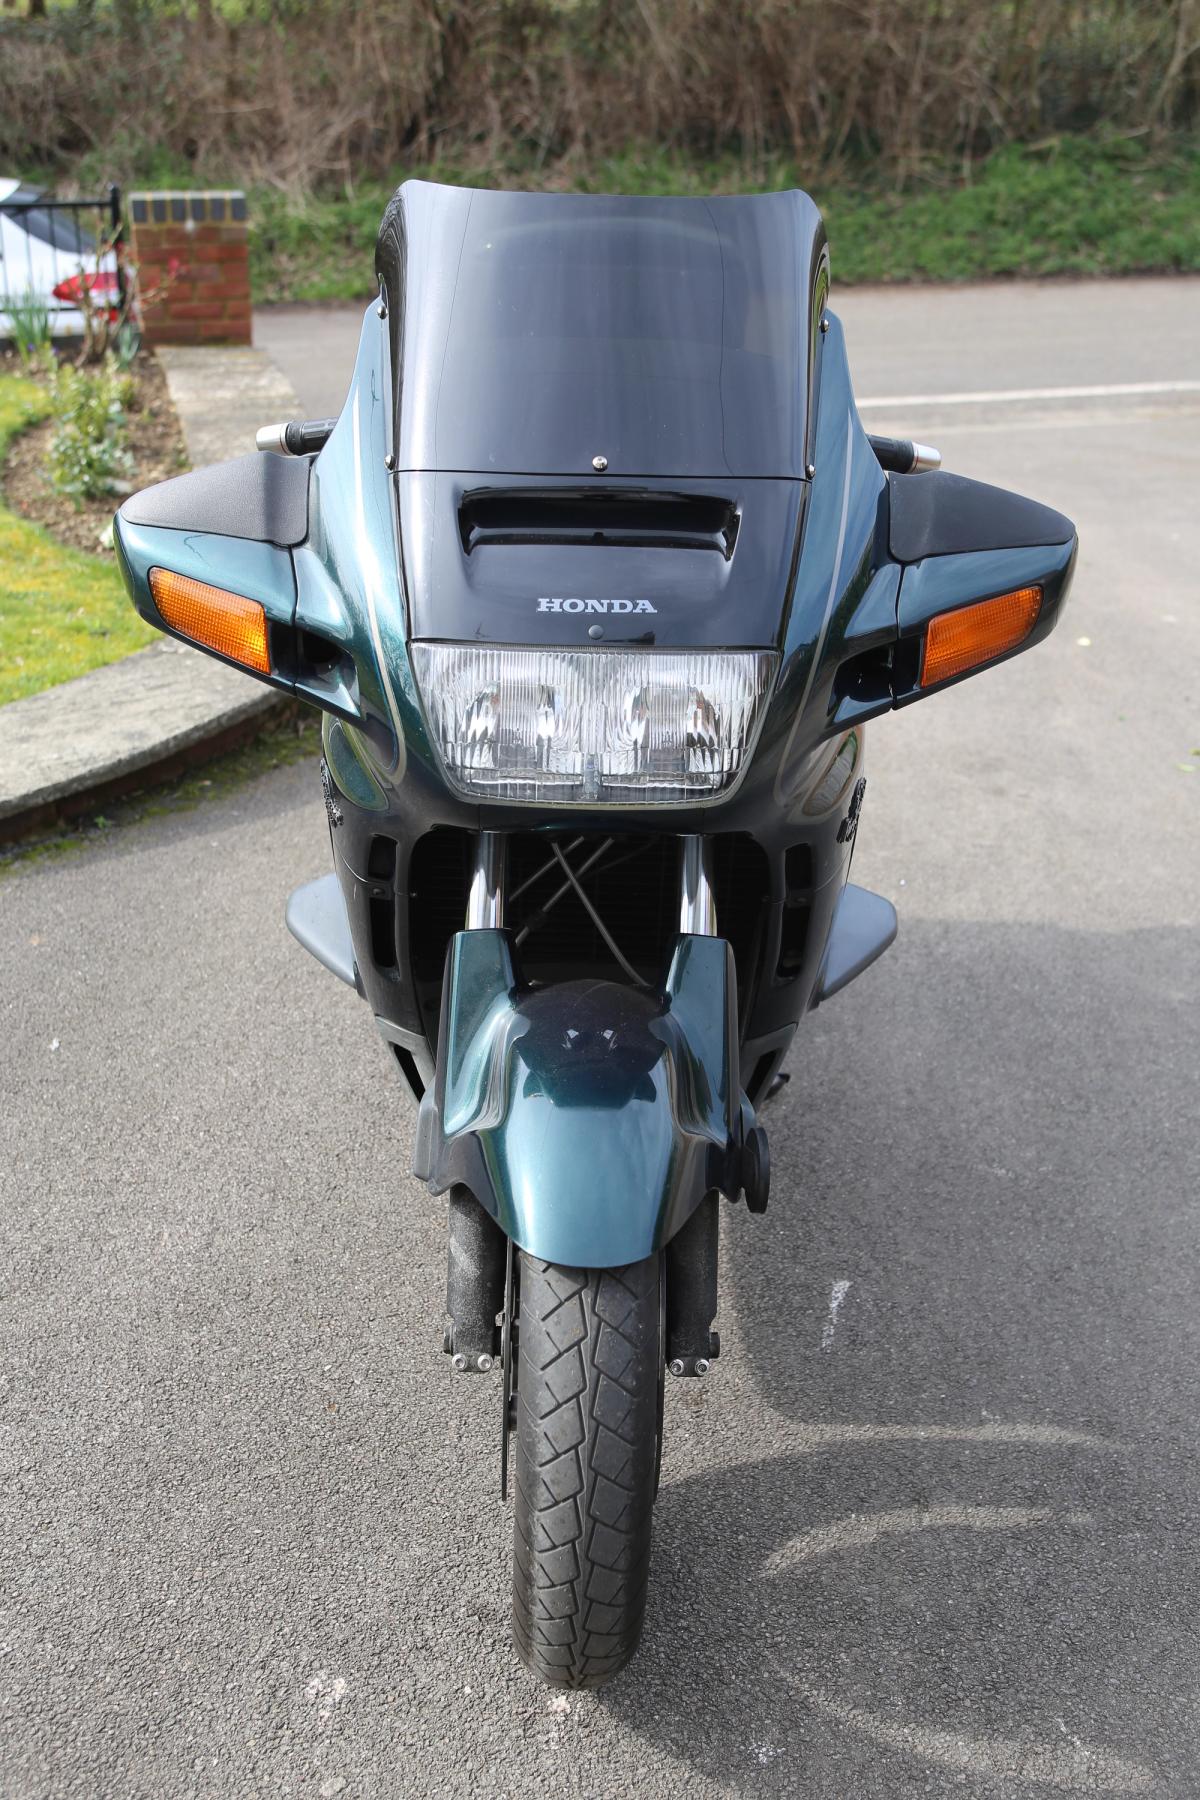
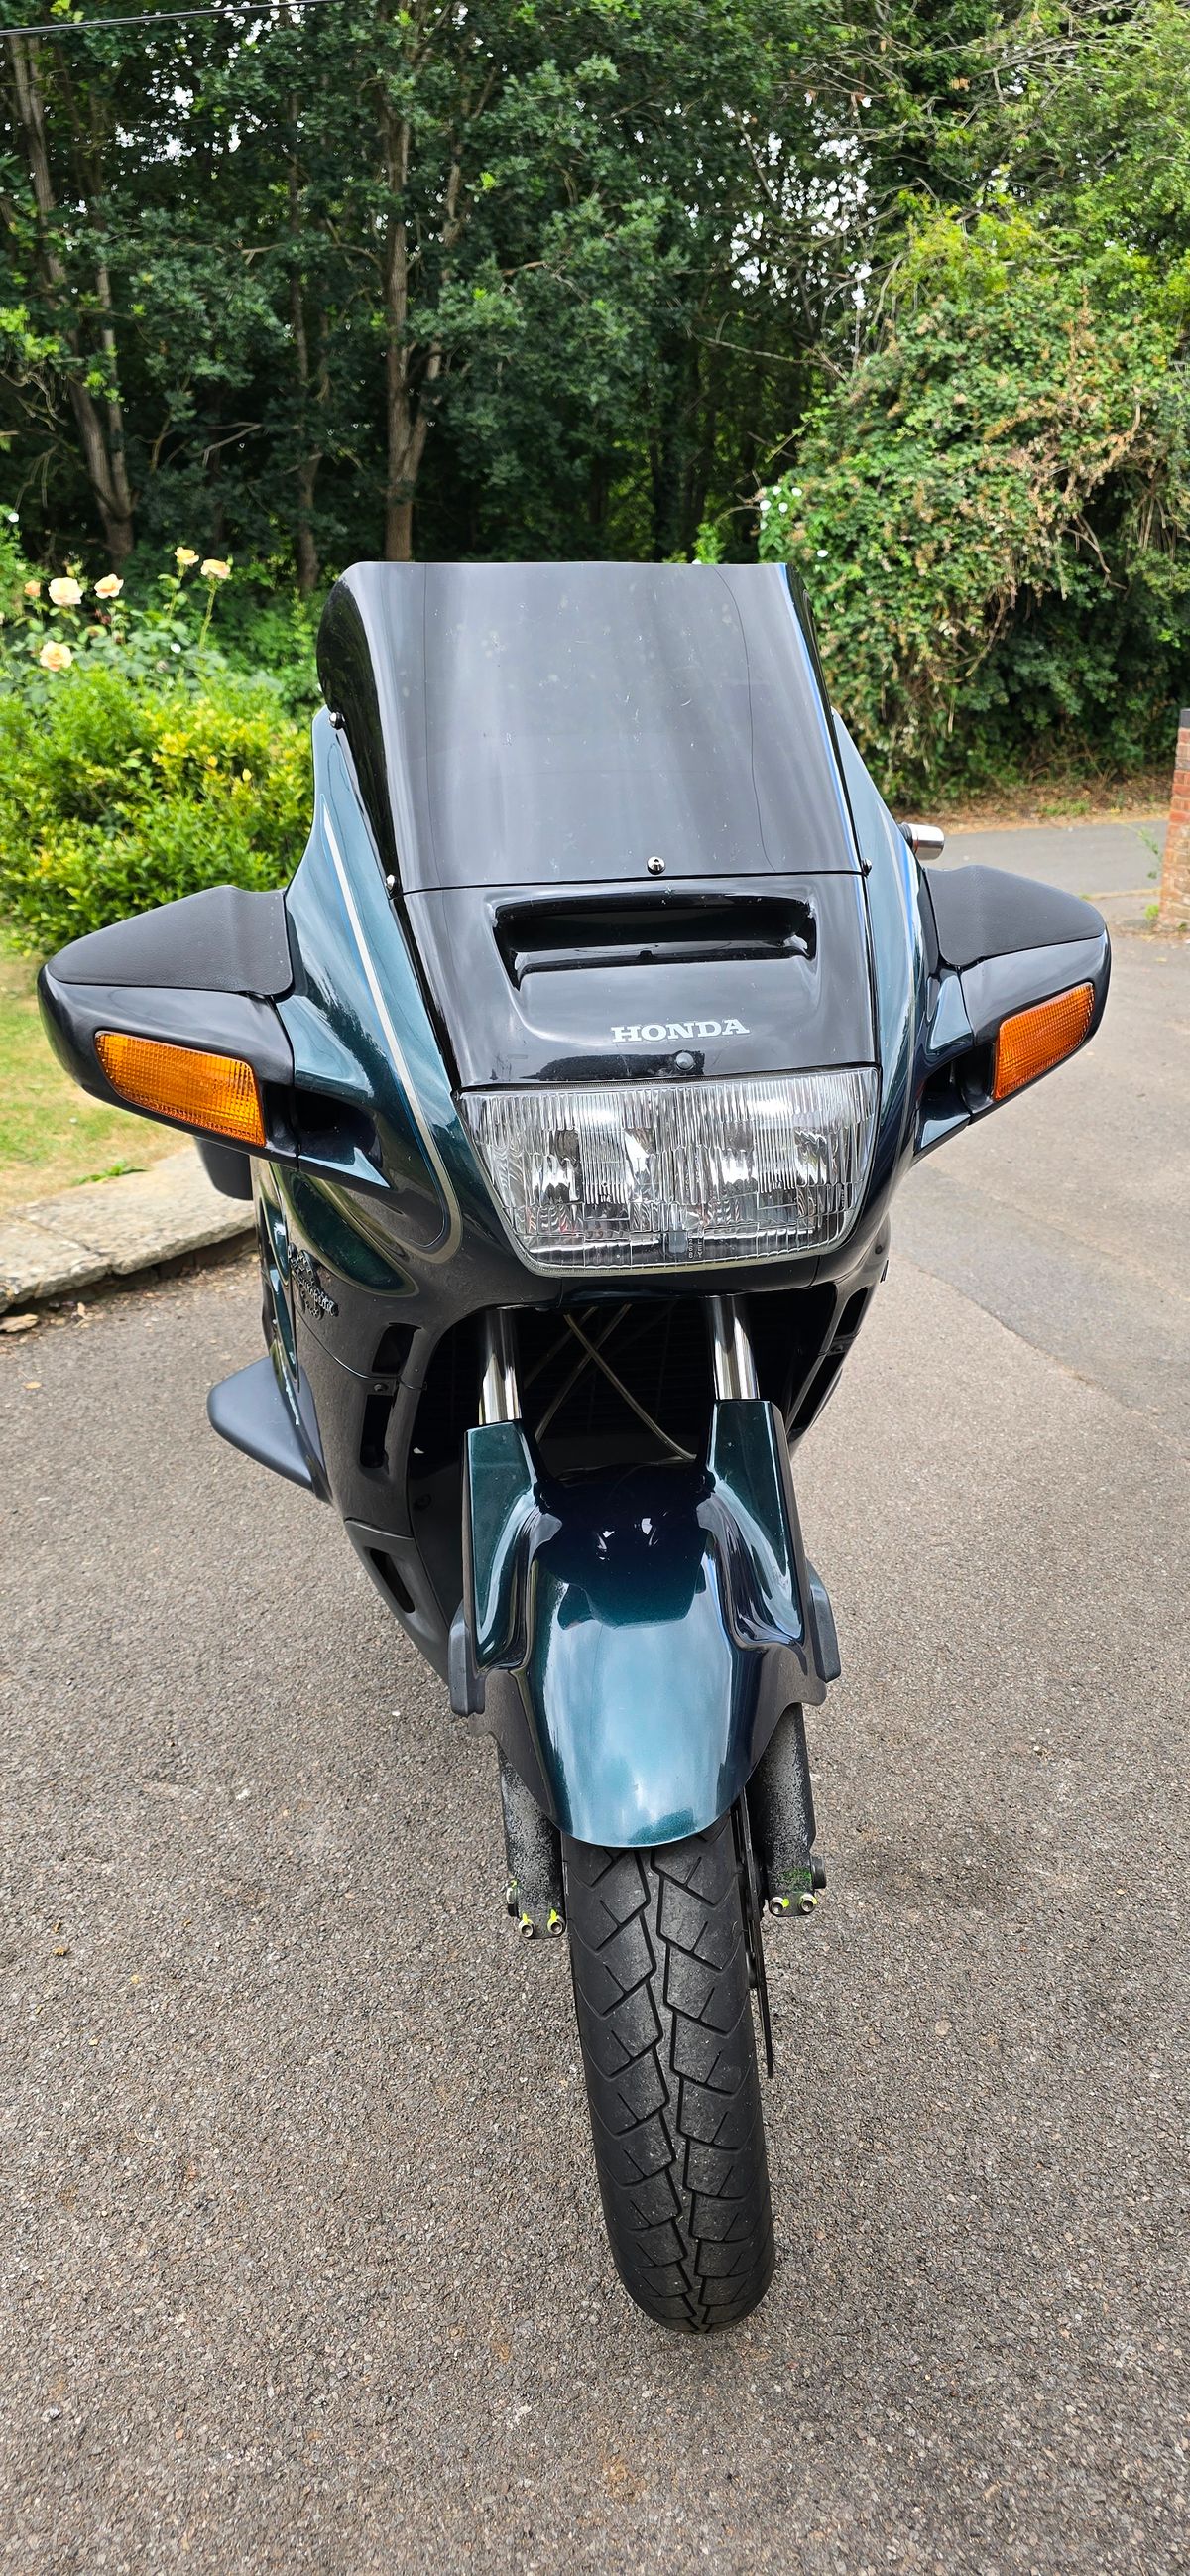
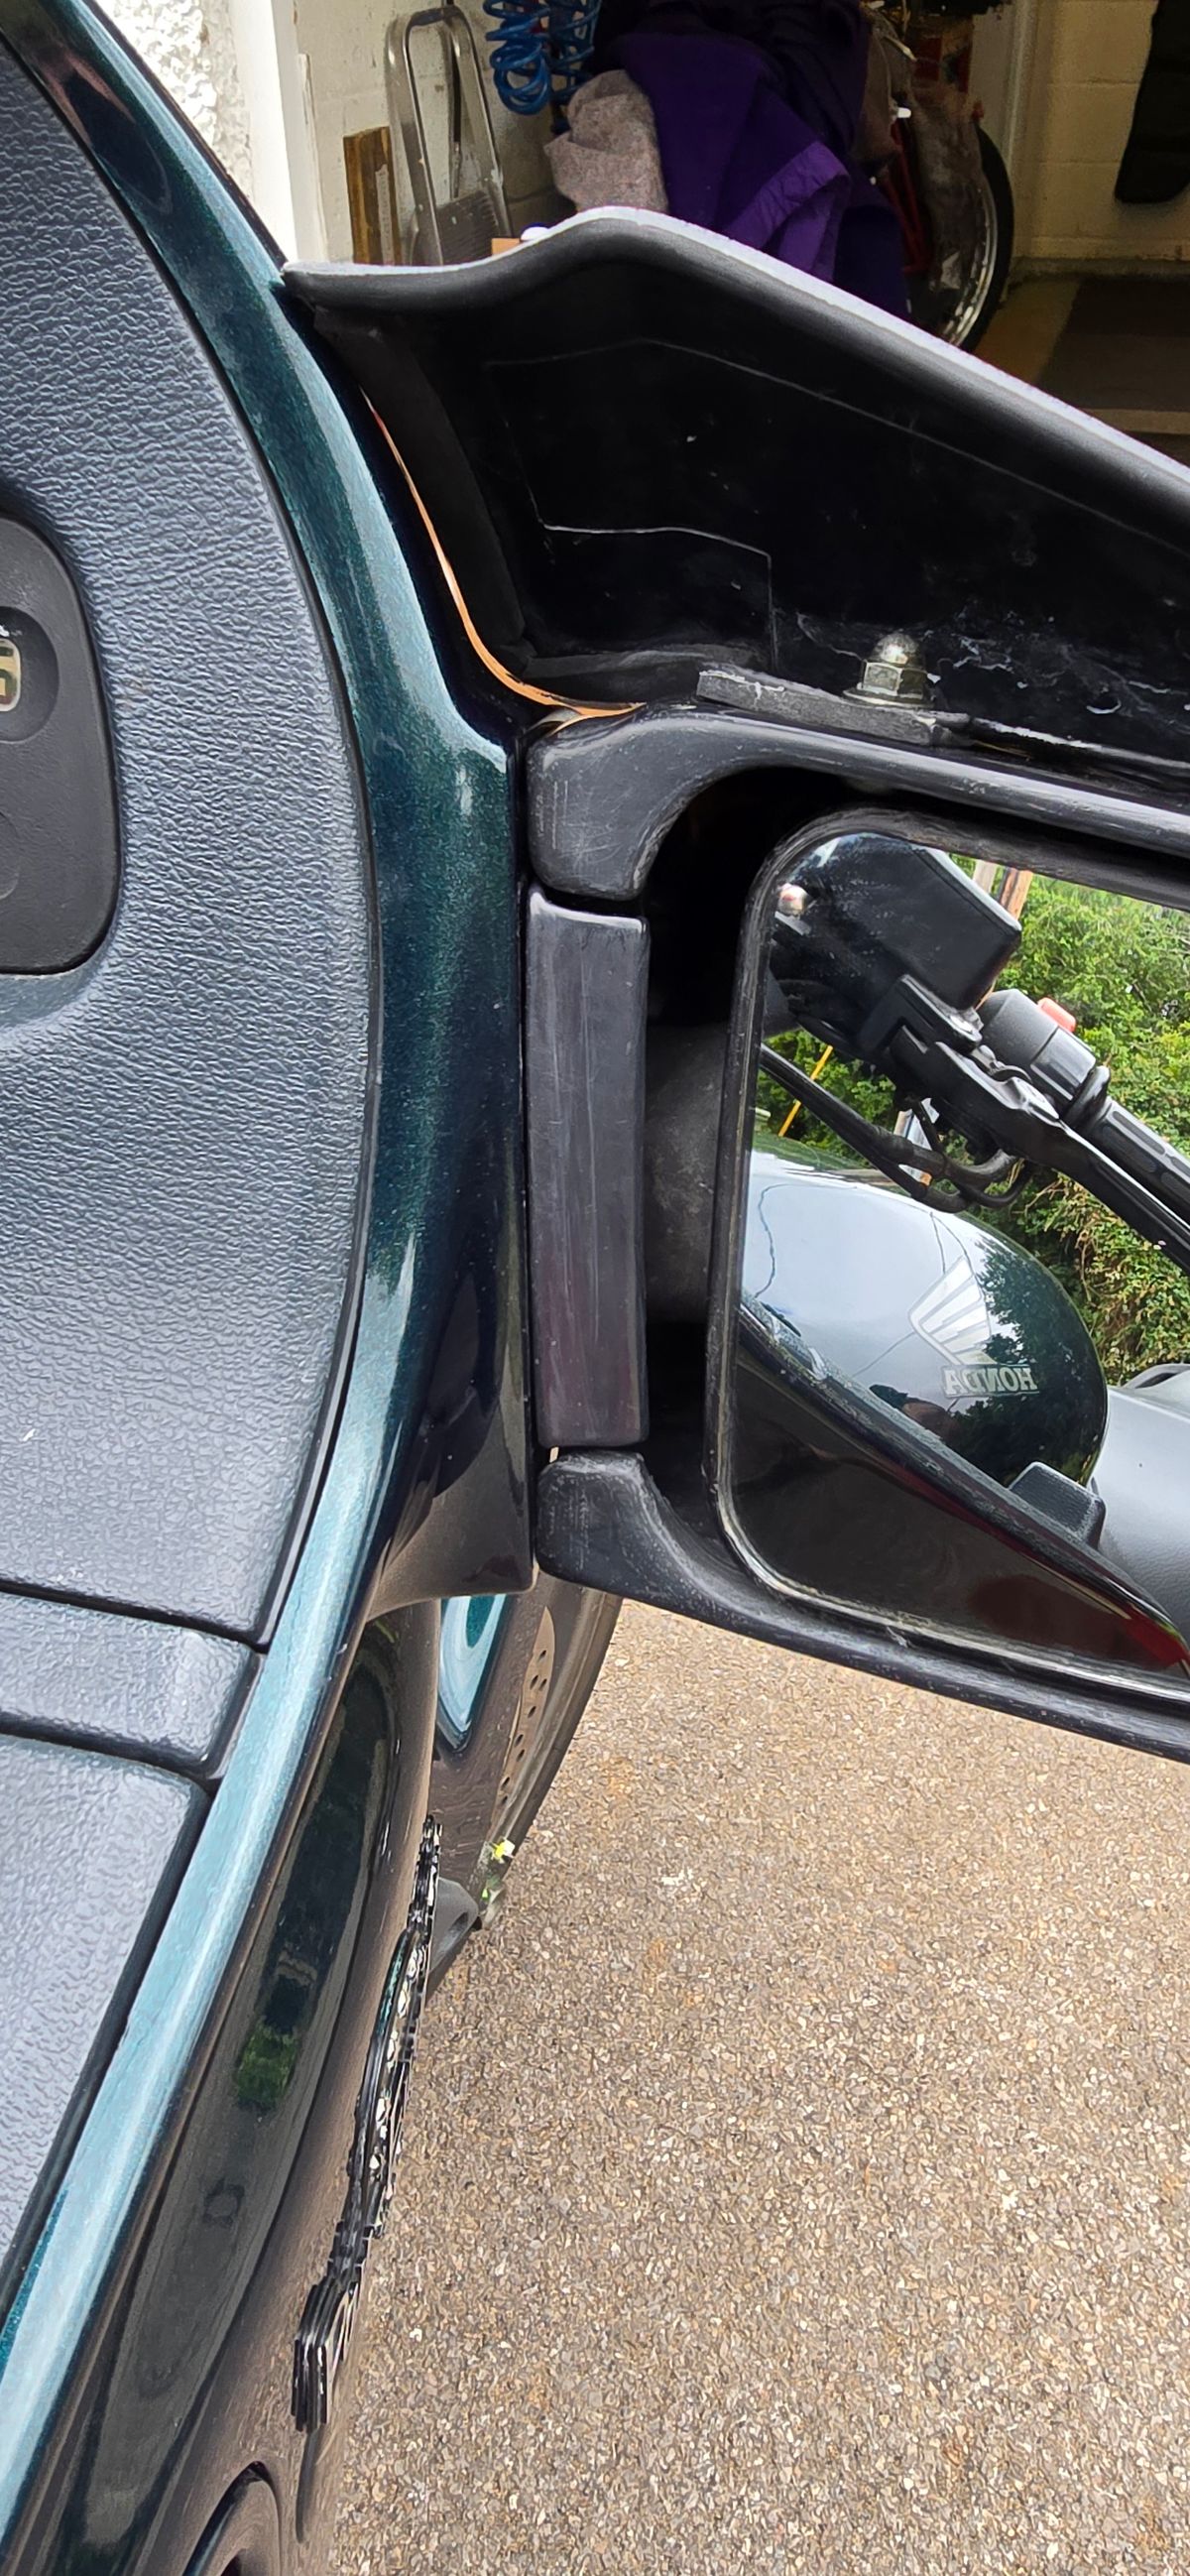
Accident-damaged mirror cowls on a 1997 Honda ST1100 Pan European: parts Honda no longer supplies. Printed in black UV-stable ASA from the owner's files within 24 hours of the material arriving; hand-finished to satin black and fitted with the original indicator lenses.
What they came to us with
Colin W's 1997 Honda ST1100 Pan European took accident damage to both mirror cowls: the fairing-mounted housings that carry the mirrors and front indicators. Honda discontinued the parts years ago and used ones rarely come up. In Colin's words, original cowls are unobtainable.
He had the damaged originals plastic-welded and resprayed to keep a matching-original set for eventual resale, but wanted a durable printed set for the bike in daily use. He had files for the left and right cowls, tried the online quote tool, and rang to talk through material choice before ordering.
What we did
We recommended ASA: UV-stable and weather-resistant, the standard choice for exterior automotive parts, where PLA sags in heat and ABS yellows in sunlight. Printed in black, the cowls could run unpainted against the bike's dark green bodywork. Black ASA wasn't in stock that week; Colin chose to wait rather than substitute the material.
Both cowls were printed within 24 hours of the ASA arriving (routing lugs intact, indicator apertures a direct fit for the original Honda lenses) and collected in person from Bicester. A follow-on order added two matching filler strips in the same material, plus ASA offcuts for slurry-filling minor surface imperfections ahead of finishing.
“Blimey — that was quick. Are you happy with the quality, do they look great?”
— Colin W, owner, 1997 Honda ST1100 Pan European
Result
Colin finished the parts himself: wet-and-dry from 60 through 2,500 grit, then Farecla G3 compound to a satin black. The original lenses fitted directly and the bike is back in use, with the repaired originals boxed for resale.
His finishing notes, passed on for anyone refinishing an FDM part: work through every sanding grade rather than skipping; avoid T-Cut or any silicone-based compound if paint may ever follow; and don't acetone-vapour smooth structural parts, as it softens the whole print. Minor subsurface marks can appear during sanding on a printed part; they disappear with the finer grades.
A process note from our side: the odd subsurface marks Colin found mid-sand were most likely the point where sanding broke through the printed wall and exposed the gyroid infill beneath; it looks like a change in the material because, structurally, it is. These cowls were printed with a standard two-perimeter wall, which is right for a part in service but leaves limited depth for heavy hand-finishing. Printing them again for an owner planning to sand to 2,500 grit, we'd spec three or four walls. The thicker solid skin costs pennies in material and gives the abrasive somewhere to go.
Photos courtesy of Colin W. For the longer story, including the ST1100's history and why parts like these go unobtainable, see our blog post: The machine outlives the catalogue.
Got a project like this?
Upload your STL, STEP or mesh file. Get an instant price and same-week turnaround on most parts.